Exploring the image picker in React Native can be done both with and without Expo, a popular set of tools for building React Native apps. Expo offers a simplified experience with a pre-built image picker component, while without Expo, you have more flexibility but need to integrate a third-party library for similar functionality.
Here is the final output that you will see after running the code given below:
Table of Contents
- Introduction
- Image Picker in react native using Native Cli
- Understanding the Image Picker Component
- Setting Up a React Native Project
- Implementing the Image Picker
- Customizing the Image Picker
- Handling Selected Images
- Image Picker in React Native Using Expo
- Understanding the Image Picker in Expo
- Setting Up a React Native Project with Expo
- Implementing the Image Picker
- Customizing the Image Picker
- Handling Selected Images
- Additional Features and Considerations
- Conclusion
- Exploring React Native’s Versatility
Introduction
In the world of mobile app development, user interaction with media, particularly images, plays a pivotal role. React Native, a popular framework for building cross-platform mobile applications, offers a convenient solution for integrating image selection functionality through the Image Picker component. This article will delve into the intricacies of using the Image Picker in React Native, with real coding examples to guide you through the process.
Understanding the Image Picker Component
What is the Image Picker?
The Image Picker is a React Native component that allows users to select images from their device’s gallery or camera. It simplifies the process of obtaining images for use within your mobile application.
Why Use the Image Picker?
Integrating an Image Picker into your app provides a seamless and user-friendly way for your audience to interact with images. Whether it’s uploading a profile picture or sharing photos within a social app, the Image Picker streamlines this process.
If you wanna know how to create a complete project with or without expo check the following article: click here
Image Picker in react native using Native Cli
Setting Up a React Native Project
Before diving into the Image Picker, you need to set up a React Native project if you haven’t already. Here are the basic steps:
- Install Node.js and npm (Node Package Manager) on your system.
- Install the React Native CLI globally by running
npm install -g react-native-cli. - Create a new React Native project with
react-native init ProjectName. - Navigate to your project folder with
cd ProjectName. - Start your project by running
react-native run-androidorreact-native run-iosdepending on your target platform.
Implementing the Image Picker
Now that your project is ready, it’s time to integrate the Image Picker. We’ll use the popular library ‘react-native-image-picker’ to make this process easier.
- Install ‘react-native-image-picker’ by running:
npm install react-native-image-picker --save - Import the Image Picker in your component:
import ImagePicker from 'react-native-image-picker'; - Create a function to open the Image Picker:
const openImagePicker = () => {
  ImagePicker.showImagePicker({ title: 'Select an Image' }, (response) => {
    if (response.didCancel) {
      console.log('Image selection was canceled.');
    } else if (response.error) {
      console.error('ImagePicker Error: ', response.error);
    } else {
      // You can use response.uri as the selected image URI
      console.log('Selected Image URI: ', response.uri);
    }
  });
};- Call the
openImagePickerfunction when the user triggers image selection.
Customizing the Image Picker
The Image Picker is highly customizable. You can specify options like title, image quality, and more. For example:
const imagePickerOptions = {
  title: 'Select an Image',
  quality: 0.8,
  storageOptions: {
    skipBackup: true,
    path: 'images',
  },
};
Then, pass imagePickerOptions as the first argument when calling ImagePicker.showImagePicker.
Handling Selected Images
Once a user selects an image, you may want to display it within your app or perform further actions. Here’s how you can handle the selected image:
const openImagePicker = () => {
  ImagePicker.showImagePicker(imagePickerOptions, (response) => {
    if (response.didCancel) {
      console.log('Image selection was canceled.');
    } else if (response.error) {
      console.error('ImagePicker Error: ', response.error);
    } else {
      // Use response.uri to display or process the selected image
      const selectedImage = { uri: response.uri };
      // Update your component state or perform any desired action
      setImage(selectedImage);
    }
  });
};
In this example, we update the component’s state with the selected image URI using React’s useState hook.
Complete code for Image Picker Using Native Cli:
Here’s a complete React Native code example for implementing an image picker without Expo using the react-native-image-picker library:
import React, { useState } from 'react';
import { View, Text, Button, Image, StyleSheet } from 'react-native';
import ImagePicker from 'react-native-image-picker';

export default function App() {
  const [selectedImage, setSelectedImage] = useState(null);

  const imagePickerOptions = {
    title: 'Select an Image',
    quality: 0.8,
  };

  const openImagePicker = () => {
    ImagePicker.showImagePicker(imagePickerOptions, (response) => {
      if (response.didCancel) {
        console.log('Image selection was canceled.');
      } else if (response.error) {
        console.error('ImagePicker Error: ', response.error);
      } else {
        // Use response.uri to display or process the selected image
        setSelectedImage({ uri: response.uri });
      }
    });
  };

  return (
    <View style={styles.container}>
      <Text style={styles.title}>Image Picker Example</Text>
      <Button title="Pick an Image" onPress={openImagePicker} />
      {selectedImage && (
        <View style={styles.imageContainer}>
          <Image source={selectedImage} style={styles.image} />
        </View>
      )}
    </View>
  );
}

const styles = StyleSheet.create({
  container: {
    flex: 1,
    alignItems: 'center',
    justifyContent: 'center',
  },
  title: {
    fontSize: 18,
    marginBottom: 20,
  },
  imageContainer: {
    marginTop: 20,
  },
  image: {
    width: 200,
    height: 200,
  },
});
Setting Up a React Native Project with Expo
Before diving into the Image Picker, you need to set up a React Native project with Expo if you haven’t already. Here are the basic steps:
- Install Node.js and npm (Node Package Manager) on your system.
- Install Expo CLI globally by running
npm install -g expo-cli. - Create a new Expo project with
expo init ProjectName. - Navigate to your project folder with
cd ProjectName. - Start your project by running
expo start.
expo install expo-image-pickerImplementing the Image Picker
Now that your Expo-based React Native project is ready, it’s time to integrate the Image Picker. Expo provides a built-in module called ImagePicker to make this process straightforward.
- Import the
ImagePickermodule in your component:
import * as ImagePicker from 'expo-image-picker';- Create a function to open the Image Picker:
const openImagePicker = async () => {
  const result = await ImagePicker.launchImageLibraryAsync({
    mediaTypes: ImagePicker.MediaTypeOptions.All,
    allowsEditing: true,
    aspect: [4, 3],
    quality: 1,
  });

  if (!result.cancelled) {
    // You can use result.uri as the selected image URI
    console.log('Selected Image URI: ', result.uri);
  }
};- Create a Button which user will press and onPress(), call the
openImagePickerfunction when the user triggers image selection.
If you wanna know how to make pressable button you can check the following article: click here
Customizing the Image Picker
The Expo Image Picker offers various options for customization. You can modify settings like mediaTypes, allowsEditing, aspect, and quality to suit your application’s needs.
const imagePickerOptions = {
  mediaTypes: ImagePicker.MediaTypeOptions.Images,
  allowsEditing: true,
  aspect: [1, 1],
  quality: 0.8,
};
Setting Up a React Native Project with Expo
Before diving into the Image Picker, you need to set up a React Native project with Expo if you haven’t already. Here are the basic steps:
- Install Node.js and npm (Node Package Manager) on your system.
- Install Expo CLI globally by running
npm install -g expo-cli. - Create a new Expo project with
expo init ProjectName. - Navigate to your project folder with
cd ProjectName. - Start your project by running
expo start.
Implementing the Image Picker
Now that your Expo-based React Native project is ready, it’s time to integrate the Image Picker. Expo provides a built-in module called ImagePicker to make this process straightforward.
- Import the
ImagePickermodule in your component:javascriptCopy codeimport * as ImagePicker from 'expo-image-picker'; - Create a function to open the Image Picker:
const openImagePicker = async () => {
  const result = await ImagePicker.launchImageLibraryAsync({
    mediaTypes: ImagePicker.MediaTypeOptions.All,
    allowsEditing: true,
    aspect: [4, 3],
    quality: 1,
  });

  if (!result.cancelled) {
    // You can use result.uri as the selected image URI
    console.log('Selected Image URI: ', result.uri);
  }
};- Call the
openImagePickerfunction when the user triggers image selection.
Customizing the Image Picker
The Expo Image Picker offers various options for customization. You can modify settings like mediaTypes, allowsEditing, aspect, and quality to suit your application’s needs.
const imagePickerOptions = {
  mediaTypes: ImagePicker.MediaTypeOptions.Images,
  allowsEditing: true,
  aspect: [1, 1],
  quality: 0.8,
};
Pass imagePickerOptions as the configuration object to ImagePicker.launchImageLibraryAsync.
Handling Selected Images
Once a user selects an image, you may want to display it within your app or perform further actions. Here’s how you can handle the selected image:
const openImagePicker = async () => {
  const result = await ImagePicker.launchImageLibraryAsync(imagePickerOptions);

  if (!result.cancelled) {
    // Use result.uri to display or process the selected image
    const selectedImage = { uri: result.uri };
    // Update your component state or perform any desired action
    setImage(selectedImage);
  }
};
In this example, we update the component’s state with the selected image URI, making it available for rendering or further processing.
Complete Image Picker Code Using Expo:
Here’s a complete React Native with Expo code example that includes setting up the Image Picker, customizing it, handling selected images, and incorporating additional features:
import React, { useState, useEffect } from 'react';
import { View, Text, Button, Image } from 'react-native';
import * as ImagePicker from 'expo-image-picker';

export default function App() {
  const [selectedImage, setSelectedImage] = useState(null);

  useEffect(() => {
    (async () => {
      const { status } = await ImagePicker.requestMediaLibraryPermissionsAsync();
      if (status !== 'granted') {
        alert('Sorry, we need media library permissions to make this work.');
      }
    })();
  }, []);

  const imagePickerOptions = {
    mediaTypes: ImagePicker.MediaTypeOptions.Images,
    allowsEditing: true,
    aspect: [1, 1],
    quality: 0.8,
  };

  const openImagePicker = async () => {
    const result = await ImagePicker.launchImageLibraryAsync(imagePickerOptions);

    if (!result.cancelled) {
      // Use result.uri to display or process the selected image
      setSelectedImage({ uri: result.uri });
    }
  };

  return (
    <View style={{ flex: 1, alignItems: 'center', justifyContent: 'center' }}>
      <Text>Image Picker Example</Text>
      <Button title="Pick an Image" onPress={openImagePicker} />
      {selectedImage && (
        <View style={{ marginTop: 20 }}>
          <Image source={selectedImage} style={{ width: 200, height: 200 }} />
        </View>
      )}
    </View>
  );
}
Additional Features and Considerations
Permissions
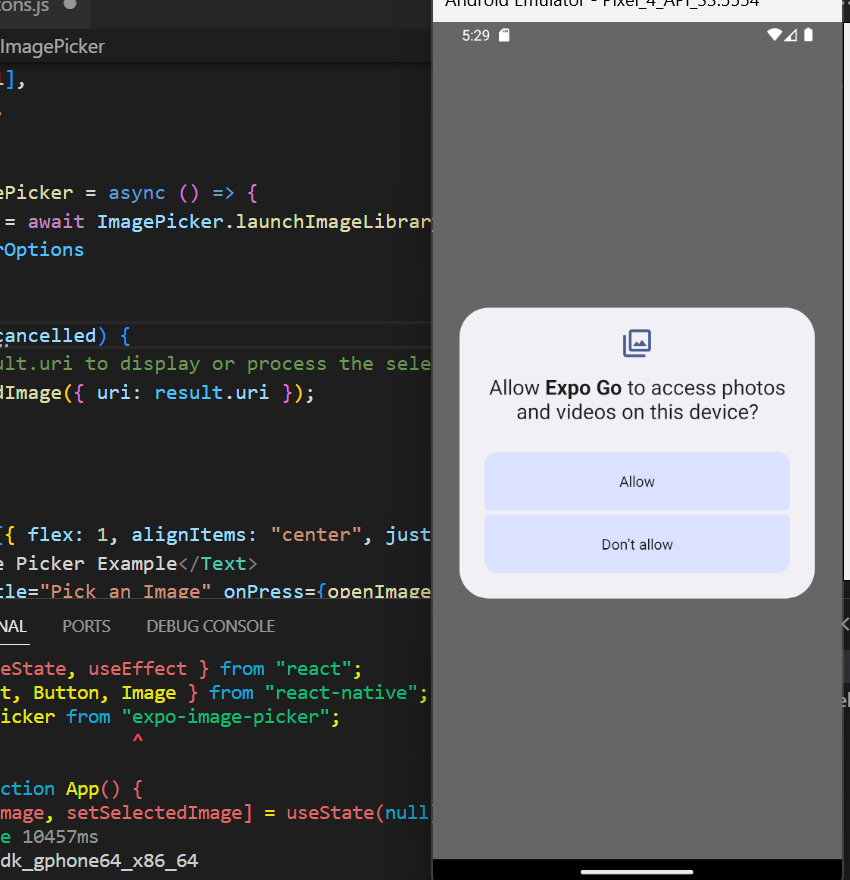
Ensure your app requests the necessary permissions for accessing the device’s camera and gallery. You can use libraries like ‘react-native-permissions’ to manage permissions gracefully. Or Expo’s expo-permissions library can help manage permissions seamlessly.
Error Handling
Handle errors appropriately to provide a smooth user experience. The Image Picker library provides error information in the response object.
Uploading Images
If your app involves uploading selected images to a server, consider using additional libraries like ‘axios’ to handle HTTP requests.
Conclusion
The Image Picker component in React Native simplifies the process of allowing users to select images from their device. By following the steps outlined in this article and customizing the Image Picker to suit your app’s needs, you can provide an intuitive and engaging user experience.